Sunday, October 28, 2012

Midnight Christmas Lodge

I'm baaack!  What a great time we had with family last week!  So much fun watching the little ones getting to know each other and having fun together.  They were actubg so silly as they got more comfortable with each other.  We got back last night and did the unpacking thing and sorted all the dirty clothes into piles of laundry.  It sure does add up quickly!  Today after church I got started on those piles and did some stamping.  I'd had this idea playing around in my mind and I set to work to see how it would look in reality.  It wasn't quite what I was looking for so I'll be reworking it tomorrow.  But this is what I did today.  Here it is, and then let's discuss it...
Stamps:  Christmas Lodge and Petite Pairs
Ink:  Midnight Muse
Paper:  Whisper White, Bashful Blue, Midnight Muse, and Brushed Silver
Accessories:   Big Shot with Labels Collection Framelits, Stamp-a-ma-jig, Midnight Muse Stitched Ribbon, Small Oval Punch(ret), Sponge Daubers, and Dimensionals
I'm happy with the overall idea of the card and the colors are exactly as I'd planned.  The one problem I ran into was getting a really good outline on the Brushed Silver cardstock layer.  I used the outside edge of the Framelit that I had cut the white out with, but it's really not a true copy of the cut edge.  So I spent quite a bit of time fussing around trying to get a good fit on the silver layer.  It's ok, but not great.  Has anyone out there found a good way to get a tighter layer on these?  I really love the look, but it would be a pain to make 50 of these for Christmas.  Any ideas???

The Stamp-a-ma-jig made stamping the little corner accents a breeze.  What would I ever do without this tool?  I think it's a must have item in any stamper's stash.  I might not use it every time I stamp, but I'm glad to have it when needed.

After I made the card I remembered that this small oval punch was retired - bummer.  But the card was done already and that was that.  Actually I haven't figured out what I would have used instead.  Hmmmm, guess that's something to figure out for the next version of this card.  Hope I'll have it done for tomorrow so you can compare and let me know what you think.  See you soon....  Sharon

Monday, October 22, 2012

Embossing Again

In case you haven't noticed, I've gotten totally hooked on the Holiday Frame TIEF in the Holiday Catalog.  It works out so nicely using different sets and ideas.  And here's another idea using the embossing folder for you.  It's another simple card with not too much going on which I really prefer for my Christmas cards.  But I still think it's beautiful.  What do you think about it?
Stamps:  Ornament Keepsakes and Tiny Tags
Ink:  Cherry Cobbler and Old Olive
Paper:  Whisper White, Cherry Cobbler Core'dinations
Accessories:  Big Shot with Holiday Frame TIEF and Holiday Ornaments Framelits, Jewelry Tag Punch, Sanding System and Dust Buddy, Old Olive 1/8" Taffeta Ribbon, and Dimensionals
This is the first card I made using the new Core'dinations cardstock and I have to tell you that I just love this paper!  The embossing stands out so perfectly when lightly sanded.  It gives your project a completely different look than regular cardstock.  And the Sanding System and Dust Buddy are must have items to get the best results.  The Dust Buddy cleans all the little traces of 'dust' away as quick as a wink.

This ornament set and coordinating Framelit set are some of my favorites from the Holiday Catalog!  I've done the ornaments in different colors and all the different sizes on several projects.  Whatever did I do before we had these Framelits???  I don't even want to think about having to cut out all the ornaments I've made in the last month!  I think my fingers would have fallen off by now or I'd have lots of calluses!!

That's it for this post.  Hope you like it.  Of course, what's not to like here??  Have a great week.  I'm enjoying my time in North Carolina with family.  It sure it great to be relaxing and getting all caught up with all the news.  Sharon

Friday, October 19, 2012

Joyous Celebrations Take 3

Just a quick post with another card using the versatile Joyous Celebrations stamp set.  It's been easy to use and come up with fabulous ideas.  This idea came from the Stampin' Connection which is a demonstrator only website.  Sandy Mathis made this lovely card and I seriously CASEd it!  Thank you for the great card idea Sandy!  Love it!!
Stamps:  Joyous Celebrations
Ink:  Cherry Cobbler
Paper:  Cherry Cobbler, Very Vanilla, and Festival of Prints DSP Stack
Accessories:   Big Shot with Apothecary Accents Framelits, Holiday Frame TIEF, Large Oval Punch, 1" Square Punch, Pearls Basic Jewels, and Dimensionals
I really love the simplicity of this card, but it looks so pretty in hand.  There's lots of texture and layers going on here, so it doesn't look plain at all.  There are several other prints in that Festival of Prints DSP that would work well with this idea.  You'd just need to change the cardstock and ink color to match whichever print you choose.

That's it for tonight.  We're leaving to visit family early tomorrow morning.  I'm trying to get a couple posts ready for when I'm vacationing.  Hope it works out!  Have a great weekend.  Sharon

Wednesday, October 17, 2012

Another Joyous Celebrations Card

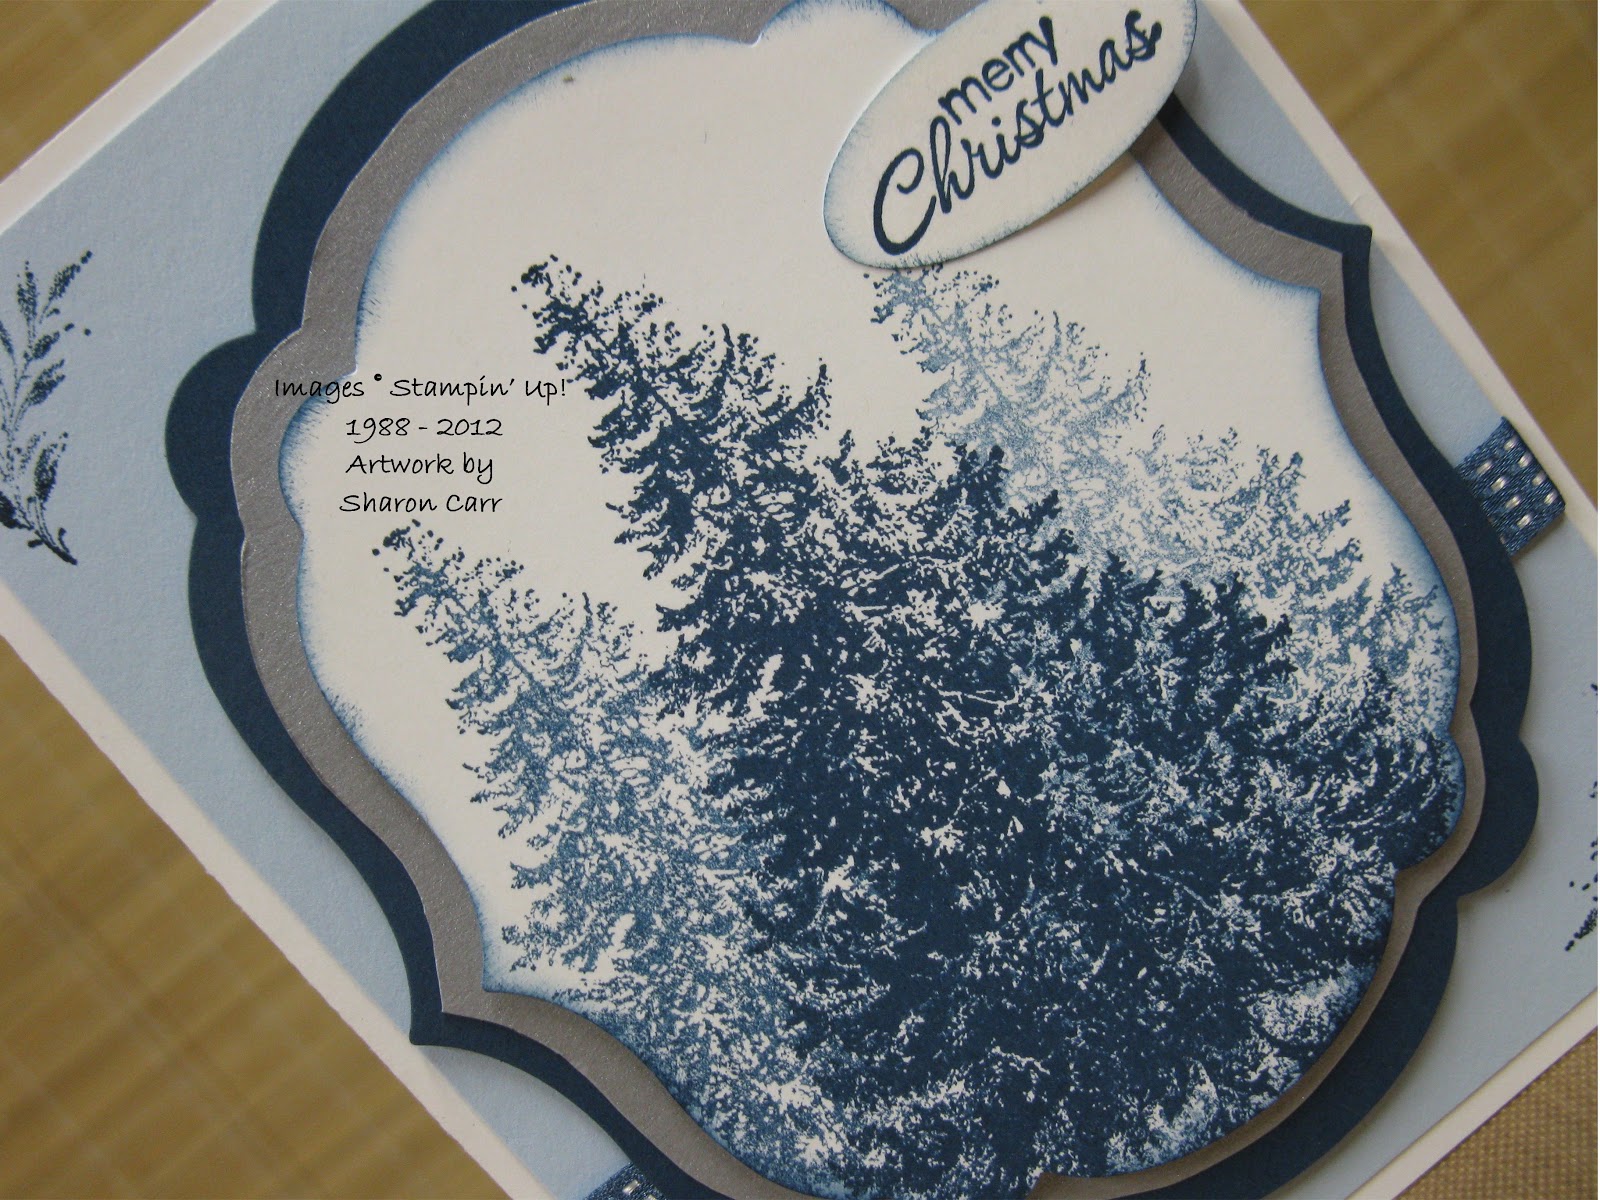
Today's card version is a CASE of my good friend and downline Phyllis Dahlstrom.  Her card was lovely and I just wanted to be able to look at it again and again, so I copied it!  At least I think I did.  I saw it at a get-together and thought to take a picture.  Unfortunately, I forgot to check the settings on my camera and I got an awful image.  So I just winged it and came up with what I thought she had made.  We'll see what she says about it later this week when I see her!  Anyway, here it is...

Stamps:  Joyous Celebrations
Ink:  Baja Breeze and Riding Hood Red
Paper:  Baja Breeze and Whisper White, Silver Glitter Paper, and Festival of Prints Designer Paper Stack
Accessories:   Big Shot with Holiday Frame TIEF, 1 3/4" Scallop Circle Punch, Large Oval Punch, Rhinestone Basic Jewels, Sanding System, and Dimensionals
I don't usually sand embossed DSP.  But doing that on this card really makes the embossing show up nicely.  The colors are all really soft and not your usual Christmas colors, but I think it turned out gorgeous! 

I liked the added bit of Silver Glitter Paper tucked in behind the focal image.  Most of it's hidden with just a bit peeking out.  But that little bit of glitz is just the right amount for this card.  The added rhinestone on the stamped ornament is the perfect finishing touch.

After using all the Framelits for my cards lately, it was crazy cutting out that tiny bow again.  But I thought it was better to add it as another layer instead of stamping it directly on the ornament.  You can do it as you see fit, but I thought the extra layer was needed.

That's it for today.  Yup, another short and sweet post.  But at least it got posted!!  Hurray!  Keep you fingers crossed that I can get at least one more posted this week.  See you soon!  Sharon

Tuesday, October 16, 2012

Joyous Celebrations

Whoa!  Is it really the middle of October already?  Sheesh, where has the time gone?  I've been busy with commitments and have squeezed in some stamping time around things.  But, I've been lax about posting anything.  So today, I'm going back to a card I made a couple weeks ago.  It was the first time playing around with this set and the Holiday Frame TIEF.  Several ladies wanted to know how to make the card in the Holiday Catalog, so I did a CASE of that one and then made another version.  Today I'm sharing my version with you.
Stamps:  Joyous Celebrations
Ink:  Cherry Cobbler and Garden Green
Paper:  Whisper White and Cherry Cobbler
Accessories:  Big Shot with Holiday Frame TIEF, Extra Large Oval Punch, Rhinestone Basic Jewels, Cherry Cobbler Seam Binding Ribbon, Glue Dots, and Dimensionals
On this version, I used the embossed cardstock with the back facing front.  It seemed to show off the embossing on the White cardstock with more detail using it this way.

As you can see, it's a very clean and simple card, but sometimes those are the most elegant.  I'm sure I'll be making more of these to mail out myself.  And a couple of other ladies I know are using this very same idea too!

Thanks for checking things out today.  Come back tomorrow.  I'll have another look at this stamp set for you.  Sharon