First of all, I apologize for being MIA for almost a whole month. I threw my back out and was a mess for about 10 days til I was pretty much back to normal. Then I put a box of cereal away in the cupboard and did it again. Let's just say this hasn't been a good month for me. I'm still getting twinges, but hopefully it's finally going to be alright. So while I can actually sit here and type today, it's time to get on with sharing a card with you. One of my friends fell in love with the Christmas card on the bottom of page 45 in our new catalog. She wasn't sure how the corners were made though. She asked if we could make it at the next hostess club. Of course, why not. Oops, don't have the set. Well, that just means it's time to improvise - my favorite thing to do! And here's what I made...
 Stamps
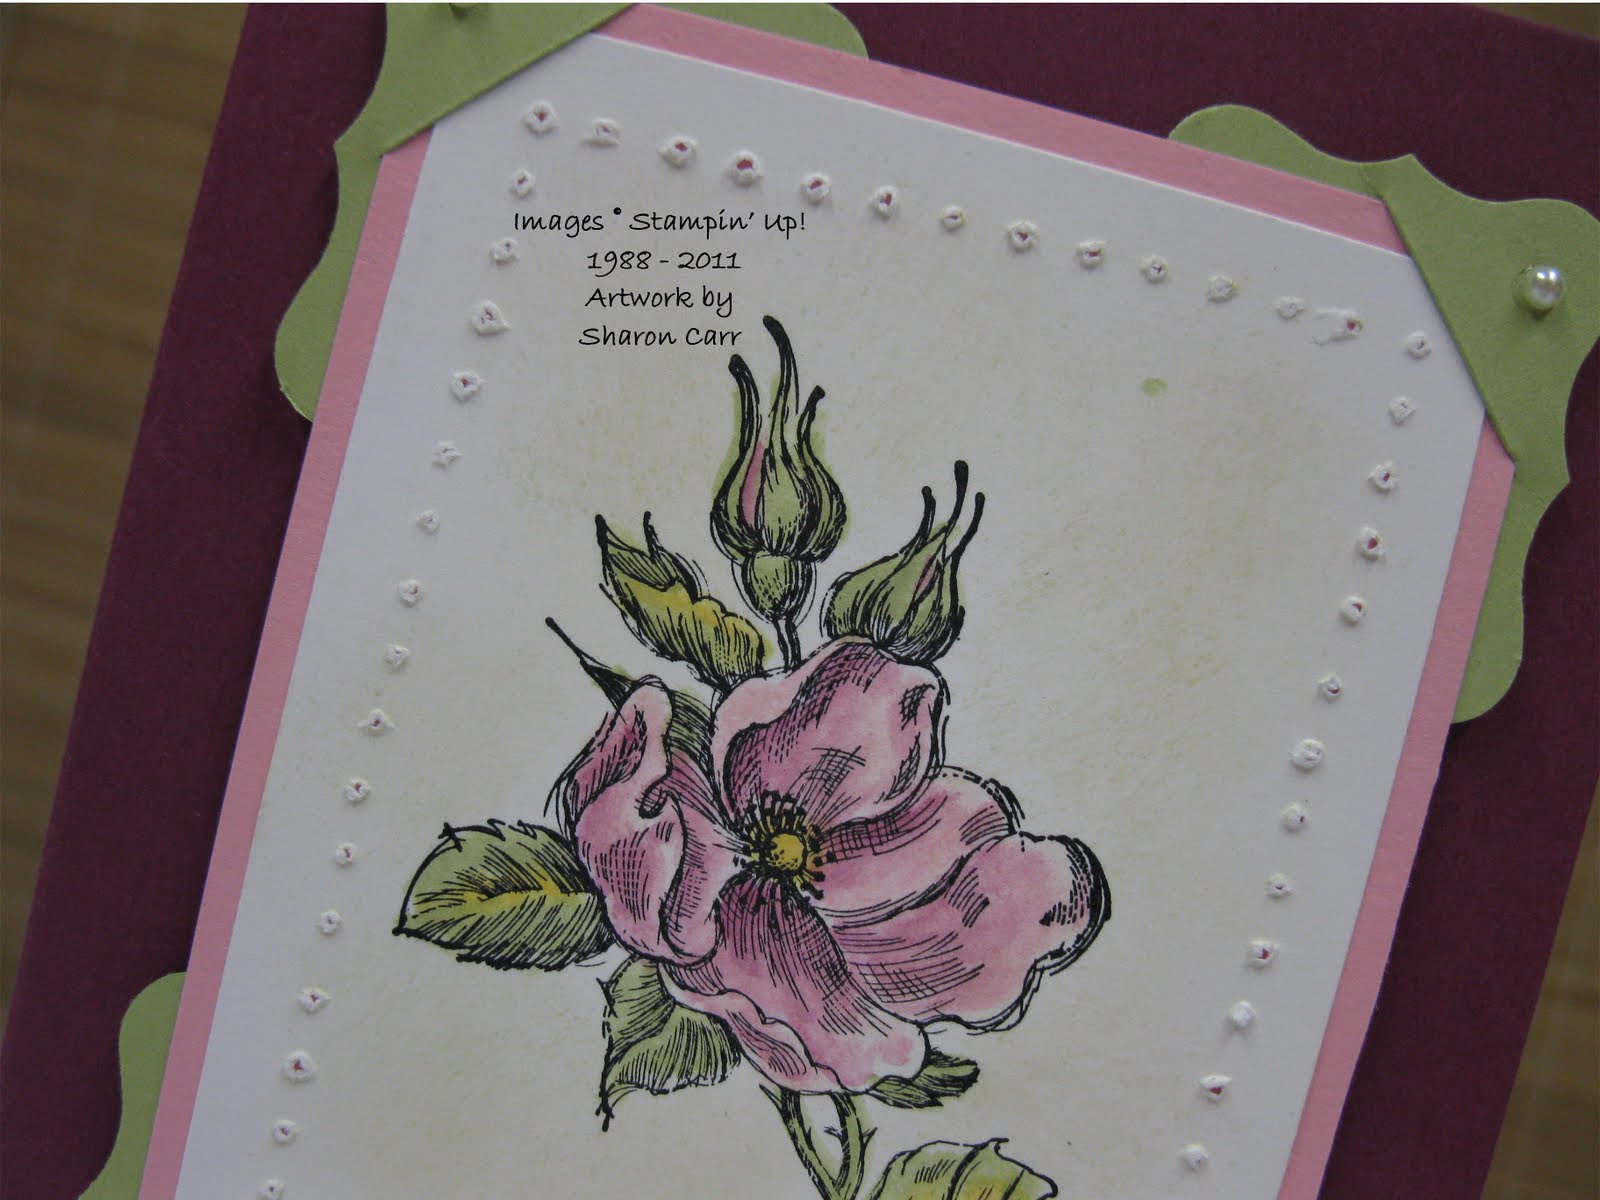
: Happiness Shared
Cardstock: Rich Razzleberry, Certainly Celery, Pretty in Pink, and Whisper White
Ink: Stazon Jet Black, Pretty in Pink, Rich Razzleberry, Certainly Celery, Daffodil Delight, and River Rock
Accessories: Curly Label Punch, Basic Pearls, Mat Pack and Piercing Tool, Sponge quarters, and Dimensionals

It's a little hard to see on the pictures, but I used River Rock to sponge in a background around the rose. Funny how it shows up very nicely in person. Oh, the quirks of technology!
To make the corners, four Curly Labels were punched. Then I cut a slit in each one to slide over the corners like the original. Very easy to do once you know what to do. The piercing was done from the backside of the cardstock so it gives much more texture to the finished card.
I debated about adding a bit of the Vanilla Shimmer Smooch Spritz on the white layer, but decided against it. I liked the card the way it was, so why mess with a good thing. If you try this, you might want to make that addition to your cards.
Thanks for taking the time to come back for a visit. Again, sorry for the long absence from posting. Hopefully I'm finished with any more back problems for a good long while. Have a fab day! Sharon
 Stamps: The Open Sea and Whimsical Words (past SAB set)