Monday, November 29, 2010

Making Valentines Already?

Can't believe it's been a week since I've had a chance to chat and share. And what a week it's been! Hope you had a wonderful Thanksgiving with your family and friends. We had the dinner at our home so we were up early getting the turkey stuffed and in the oven. Our son was home from Louisianna where he's been working on the oil spill cleanup. It was good to have him around for a few days. Especially since his birthday was Friday and we were able to celebrate with him! Then our daughter and I spent time on Friday at a funeral home for a viewing and then the service on Saturday. This was a rather hard time for us. The young woman was only 33 years old and died of Huntington's Disease which is a horrible debilitating disease. So this past week has had so many ups and downs I feel like I've been on an emotional rollercoaster! But things are back to normal today with our grandson showing up here bright and early. Oh yes, I forgot another highlight of the weekend - he got his first tooth!

Alright, that's about enough of the personal stuff. On to the stamping part of this blog!! With making cards for the military every month and needing to send cards way ahead of the calendar, we've been working on Valentines already! It's so hard to think two holidays ahead all the time. Very confusing!! But I think you'll like this card and the two different versions we made.


Stamps: Pun Fun
Cardstock: Whisper White, Pretty in Pink, and Real Red with retired DSP
Ink: Basic Black, Chocolate Chip, Pretty in Pink, and Rose Red
Accessories: Big Shot with Perfect Details Texturz Plate, AquaPainter, Small Heart Punch, and Owl Two Step Punch


Sorry I can't give you the names of the DSPs that I chose to use. Unfortunately I had some strips of different designs left over and they were all in the pink and red print families. I figured they would get used up for valentines so I just stuck them off to the side in a cello bag til they were needed. Now I can't remember where they came from!! I think one was from a Christmas set a year or two ago, not sure about the other one at all. No matter, they worked out well for this layout very nicely.

When you look at the next sample, you'll see it's slightly changed. The white cardstock has
different dimensions than the first one - shorter and fatter. This is me using up leftover cardstock from class projects or whatever. Anyway, I thought it would look better if the hearts were escaping off the card like steam.

That's also the rational behind the embossing on the Pretty in Pink layer. This is as close to steam as I could get.

Hope you like the ideas. They're very clean and simple, but everyone liked them. Hope the recipients like them too!

Ok, got to get back on track with my own Christmas cards. It's almost December so that means I can start making mine now. And then hopefully get them in the mail before the 25th!! lol

Sharon

Tuesday, November 23, 2010

Paisley Christmas

Two things in the Holiday Mini I thought were nice, but just wasn't sure about. That Deck the Halls fabric and the Paisley Prints stamp set. Could I actually figure out a cute way of using these two items? Well, maybe not cute, but could I really use them? Here's what I came up with. Please let me know what you think, but be nice...
Stamps: Paisley Prints and Christmas Wishes
Cardstock: Crumb Cake and Very Vanilla
Ink: Always Artichoke
Accessories: Deck the Halls fabric, Cherry Cobbler Seam Tape, Sticky Strip, and Dimensionals
Do you ever get that intimidated about something that you just can't visualize it used in any way shape or form? That chunk of fabric just paralyzed me! It's been sitting there staring me down for a couple weeks now and I figured I had to do something with it or go crazy. So this is it. So far anyway. Now that I've cut into it, maybe it won't be so daunting anymore. I mean, it is just fabric! Granted, it is quite nice fabric. And I like to sew. Sooooo, maybe I need to get out the sewing machine and whip something up with it instead of trying to finagle it onto my cards.
And maybe I'll try my hand at a few more ideas with the Paisley Prints stamps too. They really are cute and I like paisley. Just need to find some time to play around with them a little. That's it.
Thanksgiving is coming soon. Hope you're spending the holiday with people you love and care about. Our son will be back in town on Wednesday evening (tomorrow!) for a short 3-day visit. That means I'll probably not even make it down to the stamping cave over the weekend. Oh well, you'll probably be so busy trying to figure out what to do with all those turkey leftovers you won't be checking in here anyway.
Have a very blessed Thanksgiving and remember to thank God for all His many gifts!
Sharon

Monday, November 22, 2010

Gingerbread Couple

Oh, I have the absolutely cutest little card to share with you today! It just puts a silly grin on my face when I see it! :) I had seen a card made by Jackie Topa here that I fell in love with. But you know me, I just had to make a few changes here and there to fit what I wanted. Jackie had some little tiny "gingerpeople" (is that a word?) on her card, but since it's just hubby and me around here nowadays, I thought I'd only do a couple. Now isn't that cute?? I also changed around the clothes a bit too. Ah well, hope you like mine after you go check out Jackie's.


Stamps: Sweet Season
Cardstock: Whisper White, Crumb Cake, Real Red cardstock with Candy Cane Christmas Designer Series Paper
Ink: Real Red and Crumb Cake pads and Basic Black Marker
Accessories: Big Shot with Tasteful Trim Die, Fancy Flower Punch, Star Punch, 1" Circle Punch, Jewelry Tag Punch, Boho Blossom Punch, Two-Step Bird Punch, Decorative Label Punch, Sponge Daubers, White Gel Pen, 2-Way Glue Pen, Dazzling Diamonds Glitter, and Dimensionals


Didn't I tell you that this card was cute? I just love these gingerbread people with their cute little clothes.

Don't you like the Candy Cane Christmas DSP? All the patterns are so cute. And this candy cane striped pattern is the absolute best. I can almost taste the peppermint! I just love candy canes!! That reminds me - they'll be in the stores soon. I'm gonna have to stock up for my holiday fix! Other times of the year chocolate is king, but at Christmas I need my peppermint candy canes!

Thanks for stopping by. Hope you enjoyed my take on Jackie's idea. Why not try this yourself and add your own twist to it? I'd love to see what you make!
Sharon

Sunday, November 21, 2010

Joyful Snowflakes

My goodness! I can't believe how the days keep flying past and I seem to get farther and farther behind! I had hoped to get something posted every day last week, and that sure didn't happen. Guess that's gonna be my plan for this week again. Maybe I'll do better. We'll see!!!
Since today is Sunday, I thought I'd share something with a Christmas theme that is rather peaceful and serene. At least that's how it looks to me!
Stamps: Word Play
Cardstock: Bashful Blue, Marina Mist, and Shimmery White
Ink: Marina Mist Classic and Whisper White Craft Ink
Accessories: Big Shot with Northern Flurry Embossing Folder, Northern Frost Decorative Strip Die, Basic Rhinestones, Decorative Label Punch, Frost White Shimmer Paint, 2-Way Glue Pen, Dazzling Diamonds Glitter, Sponge Dauber, and Dimensionals
Hmmm, with all those accessories that were used, you'd think this card was hard to make. But that wouldn't be true at all. It's simple without being too plain. The shimmery paint sponged over the embossed snowflakes is a wonderful counterpoint to the Shimmery White cardstock used to diecut the elegant snowflake accents. Of course a few rhinestones and a touch of Dazzling Diamonds dress it up nicely too.
This card has been demonstrated at several workshops lately, and everyone ooohs and aaahs over it. There's just something perfect about shades of blue and snowflakes for winter. Hope you enjoyed this card. Thanks for stopping by today.
Sharon

Friday, November 19, 2010

Traditional Red and Green

Yes, I always have to make a few of the more traditional style of cards each year. And what could be more traditional than evergreen boughs and ornaments all done up in red and green. Yep, that's just spells Christmas to me! This year I was in a quandary about my lack of greenery stamps to use for a card like this, then I started seeing that others were co-opting the Lovely As A Tree evergreen to use for branches instead of a full tree. What a novel idea! That stamp set has been in my stamping arsenal for ages - probably since it's inception! And I've used it many times for many, many different cards over the years. But this is one idea I had never thought of, and probably never would. I love it when some creative person is thinking outside the box and comes up with a winning idea like this one! I have no idea who came up with this first, but I love it!! Hope you do too. Now go get that set off the shelf and dust it off. Time to give it a little love.

Stamps: Lovely As A Tree, Grateful Greetings, Tags Til Christmas
Cardstock: Real Red, Very Vanilla, and Brushed Gold
Ink: Garden Green, Real Red
Accessories: Ornament Punch, Real Red 1/8" Taffeta Ribbon, Basic Pearls, and Dimensionals


Once the idea and layout are there, this is an incredibly clean and simple card to put together. This was one of the class projects the ladies made this month, and a couple decided on this one for their Christmas card this year. The CAS (clean and simple) lines make this a good choice for making multiple cards at Christmas time. I know we're all in a time crunch this time of year, so I like to give you lots of CAS cards to choose from for your holiday greetings. In fact, I'm sure I'll be sending out a few of these to my family and friends.


If you'd like to make this or any other of the many cards I've shared with you, you can get all your stamping supplies by ordering online. How quick and simple is that? Just click on the "Order Online Button" on the right side and you can get your shopping done in minutes! Of course if you ever have any question about any card I've shared, just leave a comment and I'll get in touch with you. Have fun stamping your Christmas cards this year. You can do it!

Sharon

Wednesday, November 17, 2010

Peaceful Deck the Halls

Just have a wonderful quick card for you today. Have I mentioned how much I love the Deck the Halls Designer Paper? The colors and prints are so very vintage and make it soooo easy to make lovely cards. Or use just little bits for accents on cards or other projects. Anyway you use it, you'll love it! Because it's so gorgeous, it makes for a super-quick card! For this card I'm sharing today, I used one of the designs that looks to me to be made for an elegant and quick scrapbook page. I hated cutting into it because it is so gorgeous, but it makes a great background layer for a card too, so cut away!


Stamps: Peaceful Season
Cardstock: Crumb Cake, Always Artichoke, Cherry Cobbler with Deck the Halls Designer Series Paper
Ink: Cherry Cobbler, Always Artichoke, Crumb Cake
Accessories: Sponge Dauber, Cherry Cobbler Seam Tape


After adding the DSP to the card, there really is very little else needed on this one! I love the soft look of the poinsettias as a backdrop for the elegant script sentiment. About the only thing extra was sponging with just a smidge of ink around the edges. (in fact, it's very hard to tell that I even did that!) Add on the awesome shimmery seam tape along the side, and you're done.

I'd say this was arguably the quickest card I've ever made in my whole stamping life of about 35 years. Now that's saying alot!!

Have a great day. Thanks for stopping by.
Sharon

Sunday, November 14, 2010

Bells and Boughs Again

This has got to be one of my very favorite stamp sets in the Holiday Mini. Oh, what? Did I say that already about another set? Or two, or three maybe??? Yeah, I can't help myself! This mini has been the absolute worst one for my pocketbook in awhile! I just want it all!! Hey SU!, can you just ship me one of everything?? Ok, let's be serious now for just a moment. As much as I would like it, I really can't have one of everything. But I can sure have fun with what I did get, right?
While planning for class, I just hit a brick wall with the last card for them to make. Urgggghhh! I just hate when that happens! But ta-da!! Stampin' Connection to the rescue! There was a totally fabulous card there by Jennifer Weide that would be perfect for my ladies. Of course I had to give it a little tweak here and there, but the colors, design, stamps used, and layout was all hers. I just made it a bit simpler so my class ladies wouldn't lynch me and refuse to stamp anymore 'cuz they thought it was too hard for them. It still remains true to her idea. Thanks Jennifer - it's so lovely!

Stamps: Bells and Boughs and A Cardinal Christmas for the words inside
Cardstock: Soft Suede, Crumb Cake, Cherry Cobbler, Always Artichoke, and Very Vanilla with Deck the Halls Designer Series Paper
Ink: Stazon Jet Black, Cherry Cobbler, Always Artichoke, Wild Wasabi, and Crumb Cake
Accessories: Sticky Strip, Champagne Glass Glitter, Scallop Border Trim Punch, Aqua Painter, Mini Glue Dots, Sponge, and Dimensionals


Isn't it pretty? The changes I made were minor. Jennifer had stamped two of the poinsettia & pine images on the layer and I only did one. I added the scalloped edges on the sentiment. See, very minor changes.

You know I'm a sucker for anything with watercoloring, so I had to do this card. First touch with the Aqua Painter to the poinsettia, and yikes I thought I'd blown it with color way too dark. But as more color was added in, I loved the different depths of color on the petals. I'd love to get this whole card framed for a Christmas accent piece. Hmmm, I'll have to look into that....


This is the first time in ages that I'd done a strip of tape and glitter on a card. This Glass Glitter in the Holiday Mini is just beautiful. It's chunkier than normal, but didn't feel sharp. That sounds odd, but it was very smooth to the touch. And the Sticky Strip holds in onto the card like magic. Anyway, I'm now hooked on this stuff and I'll have to find more places to use it! Hope this glitter makes it into the catalog - it's the best!

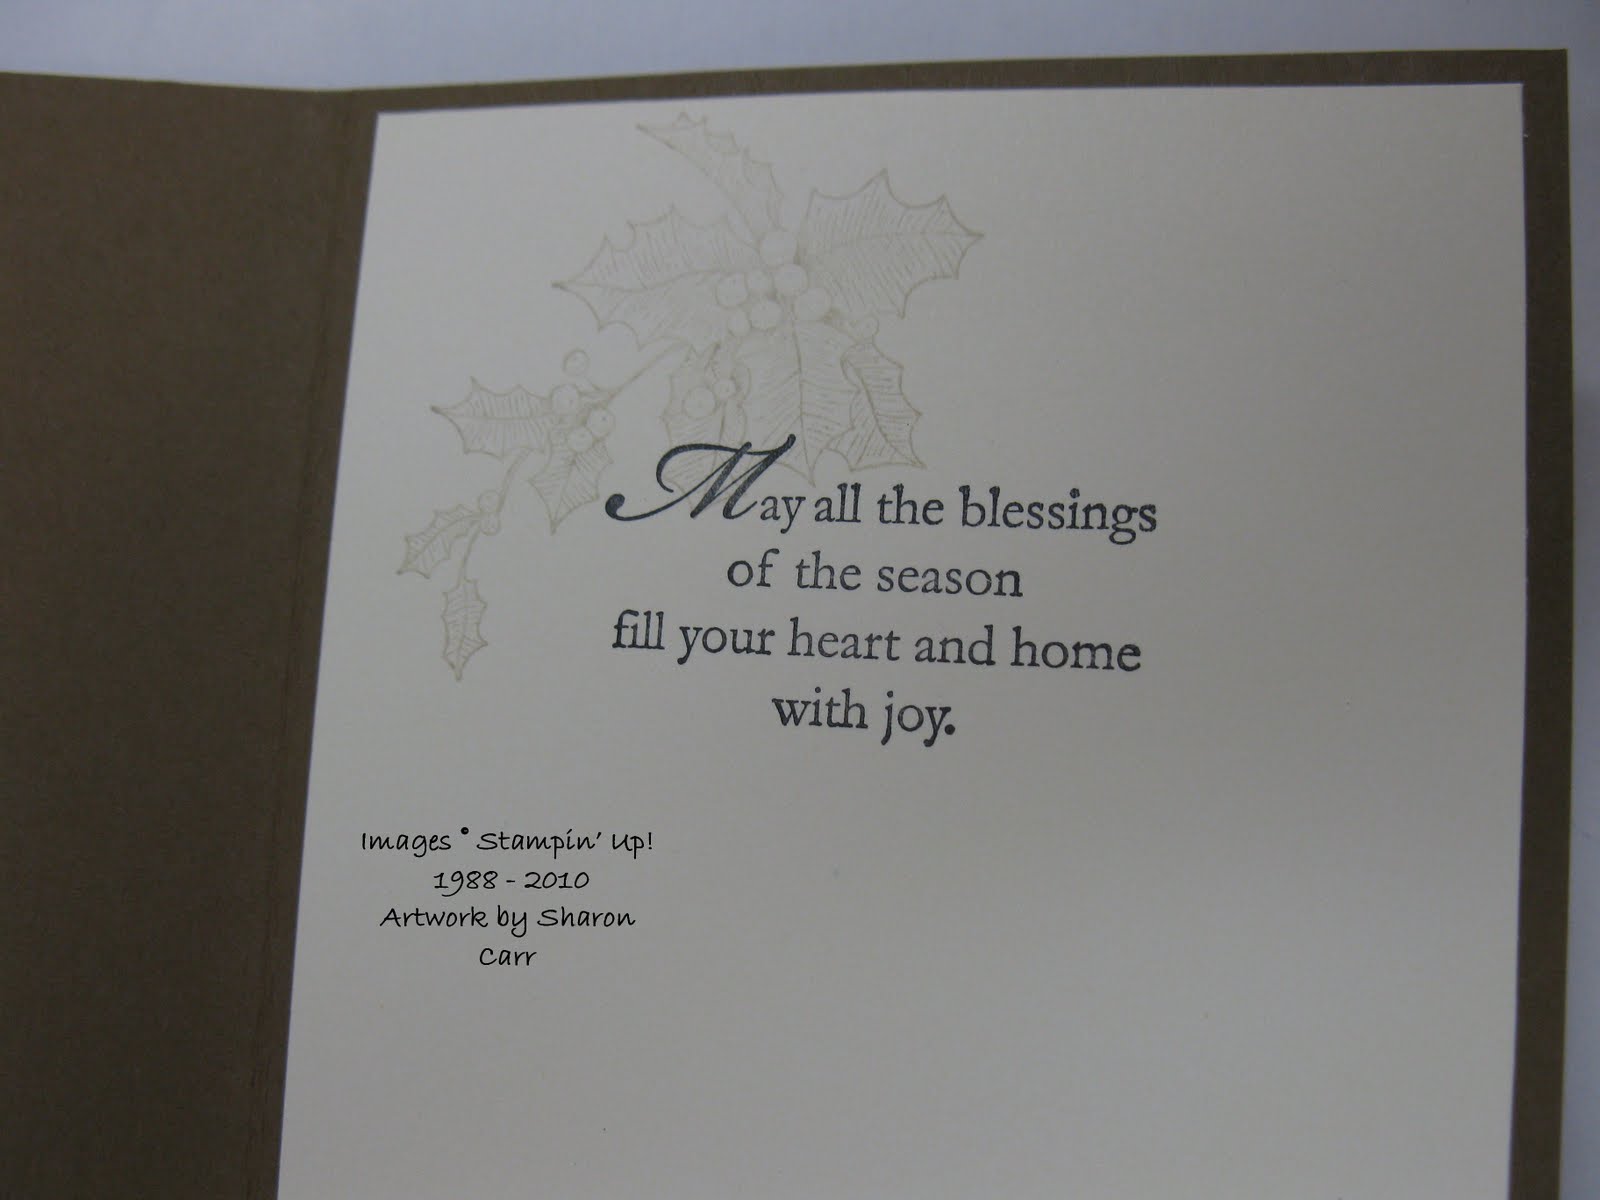
Inside I added a light image of the holly and berries tucked over the sentiment. It seemed to be just enough to offset all the old-fashioned elegance of the card.

Well that's it for today. Maybe I can check in on one of the Challenges and get some stamping in today. Have a great Sunday!
Sharon